
Driving in Kenya can be tough on your car, with potholes, rough roads, and unpredictable weather causing frequent issues. Knowing basic car fixes can save you time, money, and stress. Here’s what you need to know:
- Fix a Flat Tire: Learn to change a tire safely and quickly.
- Replace Windshield Wiper Blades: Keep visibility clear in all weather.
- Check and Add Engine Oil: Prevent costly engine repairs by maintaining proper oil levels.
- Jump-Start a Car: Handle a dead battery with confidence.
- Fix Minor Battery Problems: Clean corroded terminals and maintain battery health.
These simple skills can keep you moving, whether you’re in city traffic or on remote roads. A basic toolkit, regular checks, and a little practice can make all the difference.
Read on for step-by-step guides to these essential fixes.
Skip the mechanic: 10 DIY car repairs
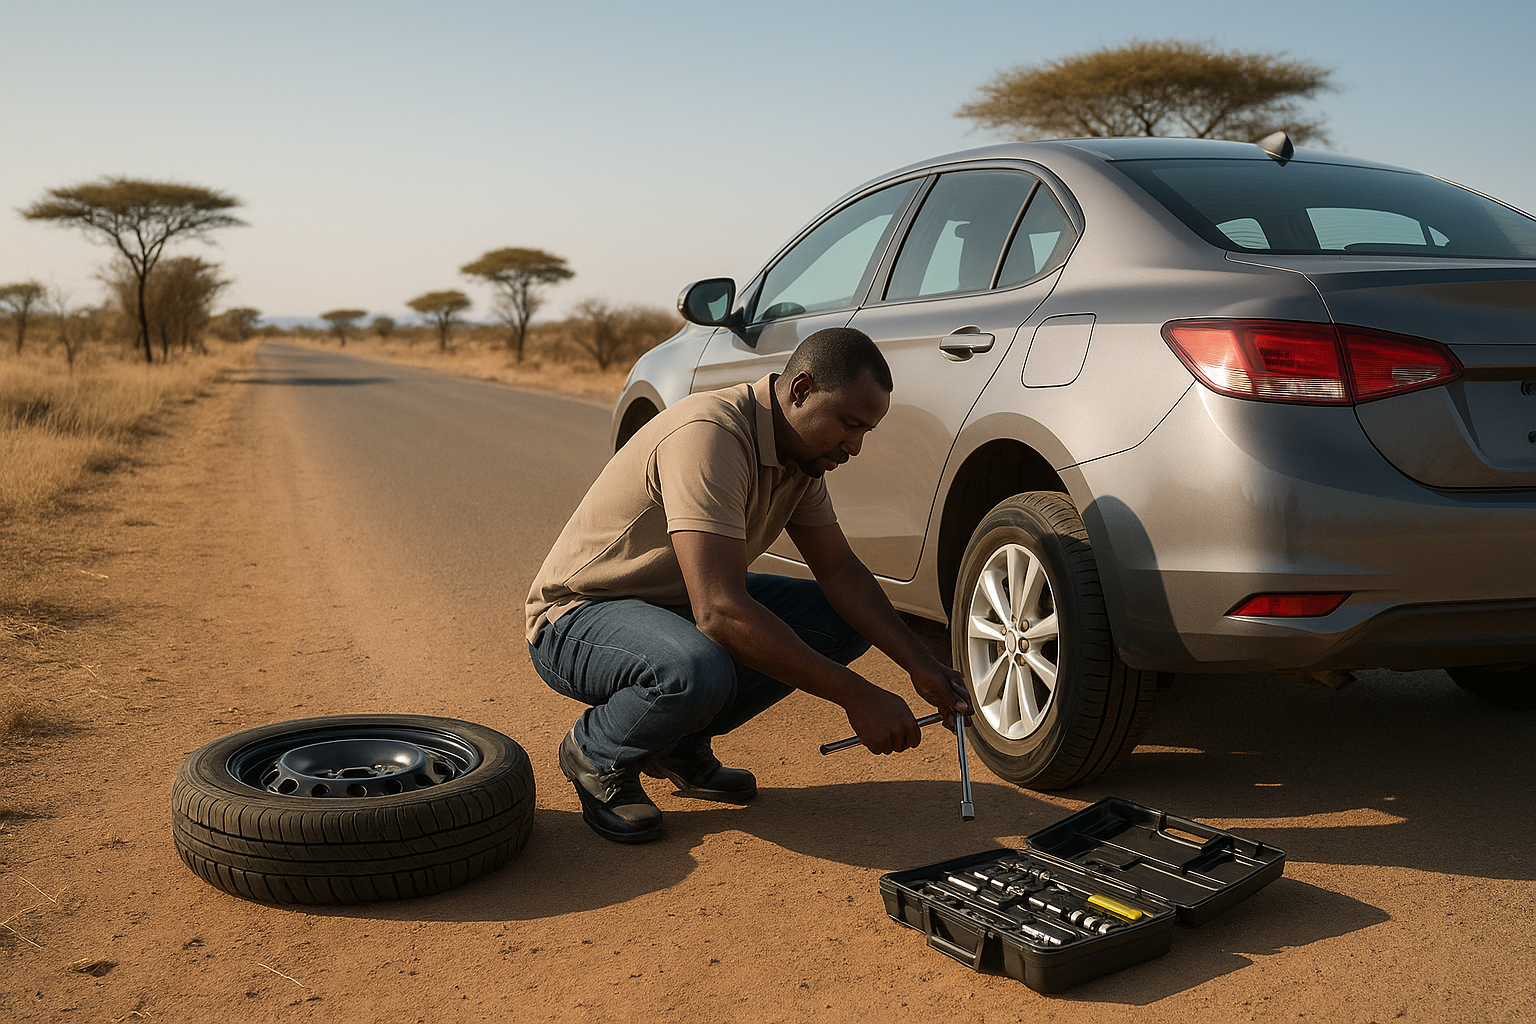
How to Fix a Flat Tire
Dealing with a flat tire is one of those roadside emergencies that most drivers encounter at some point. Whether it’s from a nail puncture or hitting a pothole, knowing how to handle the situation can save you time and stress. With the right tools and a clear plan, you can typically swap out a flat tire in about 15-30 minutes.
Tools You Need to Change a Flat Tire
Before anything else, make sure you have all the necessary tools – and that they’re in good working order.
Start with the spare tire. It should be properly inflated, so check its pressure monthly. A flat spare won’t do you any good when you’re in a bind. You’ll also need a jack that can handle your vehicle’s weight. This information is usually found in your owner’s manual.
The lug wrench (or tire iron) is another must-have. Many vehicles come with a basic L-shaped version, but a cross-shaped lug wrench offers better leverage, making the job easier.
Other handy tools include:
- A tire pressure gauge to ensure your spare is ready to go
- Wheel wedges to keep your car from rolling
- Gloves to protect your hands
- A flashlight for low-light situations
Step-by-Step Tire Replacement Guide
- Find a safe spot: Park on a flat surface, away from traffic. Turn on your hazard lights and engage the parking brake.
- Secure the vehicle: Place wheel wedges behind the tires on the opposite end of the car from the flat. For example, if the front tire is flat, put the wedges behind the rear tires.
- Remove the hubcap or wheel cover: If your car has one, use the flat end of the lug wrench to gently pry it off.
- Loosen the lug nuts: Use the lug wrench to break the nuts loose, but don’t remove them yet. This step is easier while the tire is still on the ground.
- Raise the vehicle: Position the jack at the designated lifting point (refer to your owner’s manual) and lift the car until the flat tire is about 6 inches off the ground.
- Remove the flat tire: Fully unscrew the lug nuts and pull the tire straight off the hub.
- Install the spare tire: Align the spare with the wheel bolts and push it into place. Hand-tighten the lug nuts to hold it in position.
- Lower the car slightly: Let the spare tire touch the ground while still supporting some weight. Tighten the lug nuts fully using a star or crisscross pattern to ensure even pressure.
- Lower the car completely: Remove the jack and double-check that all lug nuts are secure.
Temporary vs Full-Size Spare Tires
Not all spare tires are created equal. Knowing the difference between a temporary spare (commonly called a “donut”) and a full-size spare can help you understand their limitations.
| Feature | Temporary Spare (Donut) | Full-Size Spare |
|---|---|---|
| Speed Limit | Up to 50 mph | Normal driving speeds |
| Distance Limit | 50-70 miles max | No restrictions |
| Tire Pressure | 60 PSI | 30-35 PSI (standard) |
| Tread Design | Minimal tread | Full tread depth |
| Size | Smaller and lighter | Same size as regular tires |
| Cost | Less expensive | More expensive |
Temporary spares are meant for emergencies only. They’re smaller, lighter, and easier to store, but they’re not built for extended use. Their higher air pressure (60 PSI) and minimal tread can make for a rough ride and reduced traction.
Full-size spares, on the other hand, allow you to drive normally until you can repair or replace your damaged tire. However, if the spare isn’t identical to your other tires, you might notice slight handling differences, especially in wet conditions.
If you’re using a temporary spare, avoid driving long distances or exceeding its speed limit. The thin construction and lack of tread can lead to another blowout if overused. Make it a priority to visit a tire shop as soon as possible to get your regular tire repaired or replaced.
Next up, learn how to replace windshield wiper blades to keep your visibility clear in all weather conditions.
How to Replace Windshield Wiper Blades
Driving safely requires clear visibility, especially on Kenya’s unpredictable roads. Worn-out wiper blades can turn even a light drizzle into a risky situation. Thankfully, replacing them is a simple maintenance task you can handle on your own.
Signs Your Wiper Blades Need Replacement
Knowing when to replace your wiper blades is key. Here are some telltale signs:
- Streaking: If your windshield looks worse after using the wipers, the blades likely need replacing. Hardened or torn rubber often causes this issue.
- Squeaking or chattering sounds: This happens when the blade doesn’t glide smoothly. Uneven edges or loss of flexibility in the rubber are usually to blame.
- Skipping motion: When the blade doesn’t maintain consistent contact with the glass, it skips, leaving parts of the windshield untouched.
- Cracks or missing rubber pieces: Even small nicks can reduce the blade’s effectiveness.
- Bent or corroded wiper arms: A warped frame prevents even pressure across the windshield, leading to poor performance.
Steps to Replace Wiper Blades
Replacing your wiper blades is easier than you might think. Here’s how to do it:
- Measure your blades or check your owner’s manual: Wiper blades come in different lengths, and the driver and passenger sides are often not the same size.
- Lift the wiper arm: Gently pull the arm away from the windshield until it locks in an upright position. Be careful not to force it to avoid damaging the spring mechanism.
- Remove the old blade: Most vehicles use a hook-and-slot connection. Find the small tab or button where the blade attaches to the arm. Press the tab and slide the blade down and off the hook.
- Install the new blade: Slide the new blade onto the hook until it clicks into place. Gently tug it to ensure it’s secure.
- Lower the wiper arm carefully: Avoid letting it snap back against the windshield, as this could crack the glass.
- Test the new blades: Run them through a few cycles to confirm smooth operation.
How to Maintain Your Wiper Blades
Proper care can significantly extend the life of your wiper blades. Here are some tips:
- Keep your windshield clean: Use a good glass cleaner to remove dirt, tree sap, and road grime, which can wear down the rubber.
- Lift blades when parking in the sun: Kenya’s intense heat can cause the rubber to stick to the glass and develop flat spots. Lifting the blades prevents this.
- Check your wiper fluid regularly: Make sure the reservoir is full and use quality wiper fluid to remove stubborn dirt and insects. Running wipers on a dry windshield can damage both the blades and the glass.
- Inspect blades every three months: Check for wear by running your finger along the rubber. Replace them every 6-12 months, or sooner if you notice issues.
- Clean the blades: Use a damp cloth to wipe away dust and debris. This simple step can restore performance and prevent premature wear.
- Avoid using wipers to clear ice or heavy debris: The extra resistance can damage the motor and bend the arms. Clear such obstacles manually before using the wipers.
- Choose durable blades: Opt for UV-resistant rubber and corrosion-resistant frames to handle Kenya’s climate.
How to Check and Add Engine Oil
Engine oil plays a critical role in keeping your engine running smoothly, especially in challenging conditions like Kenya’s dusty roads and high temperatures. Regular oil checks can help you avoid costly engine repairs.
How to Check Your Engine Oil Level
Checking your engine oil is quick and can save you from major problems. Here’s how to do it step by step:
Park on level ground and let the engine cool. After turning off your car, wait 10–15 minutes. This allows the oil to settle in the pan, giving you an accurate reading.
Locate the dipstick. Pop your hood and look for the dipstick, which usually has a brightly colored handle (yellow, orange, or red) labeled "Engine Oil." Pull it out and wipe it clean with a rag or paper towel.
Reinsert and check the oil level. Insert the dipstick back fully, then pull it out again. Look for the marks labeled "MIN" (or "ADD") and "MAX" (or "FULL"). Your oil level should fall between these two marks, ideally closer to the maximum.
Inspect the oil’s appearance. Fresh oil is typically amber or black and flows easily. If the oil looks milky (a sign of coolant contamination), contains metal shavings, or feels unusually thick, it’s time to consult a mechanic.
Adding the Right Type of Oil
Choosing the correct oil for your engine is essential for its performance and longevity. The type of oil you need depends on your engine’s requirements and driving conditions.
Consult your owner’s manual. This is the best source for identifying the right oil for your car. Look for viscosity ratings like "5W-30" or "10W-40", which indicate how the oil performs under different temperatures.
Account for your driving style. If you frequently drive in stop-and-go traffic or at high speeds, you’ll need an oil that can handle those conditions. For Kenya’s hot climate, select an oil designed to perform well in higher temperatures.
Match your engine type. Choose oil specifically formulated for your engine, whether it’s a petrol or diesel model.
To add oil, locate the oil filler cap (marked with "Engine Oil" or an oil can symbol), remove it, and pour in small amounts – about 0.5 liters (0.53 quarts) at a time. Check the dipstick after each addition to avoid overfilling, which can damage the engine.
When to Check and Change Your Oil
Make it a habit to check your oil level every two weeks or before long trips. As for oil changes, the interval depends on your driving conditions. If you’re frequently driving on dusty roads or in heavy traffic, aim to change your oil every 5,000–7,500 kilometers (3,100–4,660 miles). While some manufacturers recommend longer intervals, such as 10,000–15,000 kilometers (about 6,200–9,300 miles), shorter intervals are better for tough conditions.
Pay attention to warning signs like the oil pressure light or blue exhaust smoke – these could indicate low oil levels or quality issues. If you hear unusual engine noises, check your oil immediately.
Monitor oil consumption. It’s normal to lose a small amount of oil between changes, but if you’re adding more than 1 liter (approximately 1.06 quarts) frequently, have your engine inspected for leaks or wear.
sbb-itb-e5ed0ed
How to Jump-Start Your Car
Knowing how to jump-start your car is an essential skill that can help you tackle unexpected roadside emergencies. A dead battery can leave you stuck, whether you’re on your morning commute or heading home from a weekend getaway. With this guide, you’ll be prepared to handle the situation confidently and save yourself time and hassle.
What You Need to Jump-Start a Car
Before you begin, make sure you have the right tools and equipment to get the job done safely and effectively.
- Jumper cables: These are your main tool. Opt for cables that are at least 12 feet long with heavy-duty 4–6 gauge clamps. Thicker cables are better for larger engines and provide a more reliable connection.
- A donor car: You’ll need a working vehicle with a 12-volt battery. Ideally, the donor car should have an engine size equal to or larger than your car’s. Ensure the donor car’s battery is in good condition, as a weak one won’t be able to jump-start another vehicle.
- Safety gear: Gloves and safety glasses can protect you during the process. A flashlight is useful for nighttime situations, and a clean rag can help you wipe off any dirt or corrosion on the battery terminals.
- Optional tools: A wire brush can help clean corroded terminals, and a multimeter is handy for checking battery voltage. While not mandatory, these items can help you troubleshoot battery issues more effectively.
Step-by-Step Jump-Start Instructions
Follow these steps carefully to ensure a safe and successful jump-start.
- Position the vehicles properly. Park the donor car close enough for the jumper cables to reach both batteries, but ensure the two vehicles don’t touch. Turn off both engines, engage the parking brakes, and remove the keys from the ignition.
- Locate the battery terminals. Open the hoods and identify the positive (+) and negative (-) terminals on each battery. If the terminals are dirty or corroded, clean them with a rag or wire brush for a better connection.
- Connect the cables in the correct order. Start with the red (positive) cable. Attach one end to the positive terminal of the dead battery and the other end to the positive terminal of the donor battery. Then, connect one black (negative) clamp to the negative terminal of the donor battery. Attach the other black clamp to an unpainted metal surface in the engine bay of the dead car – not the negative terminal of the dead battery.
- Start the donor vehicle. Let it run for 2–3 minutes to send power to the dead battery. You can rev the donor car to around 2,000 RPM to speed up the process.
- Start the dead vehicle. Turn the key in the dead car’s ignition. If it doesn’t start right away, wait a few minutes and try again. Avoid cranking the engine for more than 15 seconds at a time.
- Disconnect the cables in reverse order. Once the dead car starts, leave both engines running. Remove the black clamp from the engine ground first, followed by the black clamp from the donor battery. Then, remove the red clamp from the donor battery and finally the red clamp from the previously dead battery.
- Keep the jumped car running. Drive the car for at least 30 minutes or let it idle for 45 minutes to recharge the battery. Avoid shutting off the engine immediately, as you might need another jump-start if the battery hasn’t charged enough.
Mastering this process not only helps in emergencies but also prepares you to tackle other battery-related issues down the line.
Signs Your Car Needs a Jump-Start
After successfully jump-starting your car, it’s important to recognize the signs of a failing battery to avoid future problems. Here’s what to look for:
- Slow engine cranking: If your engine sounds sluggish when starting, your battery may be weak. This is especially noticeable during colder months when battery performance can drop.
- Dim dashboard lights and headlights: If your lights are dim or flicker when you turn the key, your battery might not have enough power to support the electrical system.
- Clicking sounds: A rapid clicking noise when you turn the key usually means the battery doesn’t have enough power to engage the starter.
- Complete electrical failure: If nothing happens when you turn the key – no lights, no sounds, no response – it could indicate a dead battery, though issues with the alternator or electrical connections are also possible.
- Battery age: Batteries typically last 3–4 years. If yours is older and showing any of the above symptoms, it’s likely time for a replacement.
Keep in mind that jump-starting is only a temporary fix. If your battery keeps dying, it’s a good idea to have it tested at an auto parts store or by a mechanic to determine whether it needs replacing or if there’s a deeper issue with your charging system. Recognizing these signs will help you maintain your car’s reliability and avoid being stranded in the future.
How to Fix Minor Battery Problems
Taking care of your car battery is an essential part of maintaining reliable vehicle performance. Many battery issues can be resolved with simple cleaning and upkeep, saving you the expense of replacing your battery unnecessarily. Understanding the difference between minor, fixable problems and a failing battery can help you make informed decisions and keep your car running smoothly. Below are some practical tips to restore and maintain your battery’s efficiency.
How to Clean Corroded Battery Terminals
Corroded terminals are a common cause of battery trouble, but the good news is that they’re usually easy to clean. Corrosion disrupts the flow of electricity, making your battery seem weaker than it actually is.
Start by turning off your engine. Disconnect the negative terminal first, followed by the positive, to prevent short circuits.
For light corrosion, you can whip up a simple cleaning solution with baking soda and water. Mix one tablespoon of baking soda with a cup of water to form a paste. Use an old toothbrush or a battery terminal brush to apply the paste to the corroded areas. The baking soda neutralizes the acid buildup, making it easier to scrub away.
If the corrosion is more severe, consider using a battery terminal cleaner. These cleaners, available at most auto parts stores, are specifically designed to dissolve tough acid buildup. Follow the product instructions and scrub the terminals with a wire or battery terminal brush.
Once cleaned, rinse the terminals with clean water and dry them completely with a clean rag. Before reconnecting the cables, apply a thin layer of petroleum jelly or a protector spray to the terminals. This helps prevent future corrosion. Reconnect the terminals in the correct order: positive first, then negative, ensuring they are securely tightened.
How to Keep Your Battery Healthy
Regular maintenance can go a long way in extending the life of your battery. Since extreme temperatures can strain your battery, especially in hot climates, taking extra precautions can make a noticeable difference.
- Inspect connections monthly: Ensure terminal clamps are tight and free from corrosion. Loose connections can cause voltage drops, which might mimic signs of battery failure. If you can jiggle the clamps by hand, they need to be tightened.
- Avoid deep discharges: Repeatedly draining your battery completely shortens its lifespan. If you’re not driving for an extended period, use a battery tender or trickle charger to maintain a proper charge.
- Keep your battery clean and dry: Dirt and moisture on the battery’s surface can cause electrical current to leak, slowly draining your battery even when the car is off. Regular cleaning prevents this problem.
- Secure the battery in place: A loose battery can vibrate while driving, damaging its internal components and causing intermittent connection issues. Check that your battery is properly secured in its mounting bracket.
- Test your battery regularly: If your battery is over three years old, have it tested every six months. Many auto parts stores offer free testing, which can identify weak batteries before they fail completely.
Failing Battery vs Fixable Problems
Being able to tell the difference between a failing battery and minor, fixable issues can save you both time and money. Here’s a quick comparison to help you identify the problem:
| Symptom | Failing Battery (Needs Replacement) | Minor Fixable Issue |
|---|---|---|
| Physical appearance | Swollen, bloated, or cracked battery case | Corrosion on terminals only |
| Smell | Rotten egg odor from vented gas | No unusual smell |
| Age | 4-6 years old or older | Any age |
| Starting behavior | Sudden slower cranking, starts then dies | Slow cranking that improves with cleaning |
| Electrical issues | No radio, flickering electronics, check engine light | Dim lights that brighten after cleaning |
| Test results | Fails load test | Tests as sound but may be discharged |
Age-related failures are often gradual, but once the battery starts showing multiple symptoms and is over four years old, replacement is usually the best option.
However, many battery issues stem from connection problems. Loose cables, corroded terminals, or poor connections at the alternator or junction block can mimic the symptoms of a failing battery. These are often simple to fix with cleaning and tightening.
For intermittent issues, a bit more investigation might be required. Sometimes, the problem lies with a parasitic drain – when electrical components stay on when they shouldn’t – or intermittent connections. If your battery tests as healthy but you’re still having trouble, these could be the culprits.
When in doubt, get your battery professionally tested. A proper load test can determine whether your battery is just discharged or has internal damage requiring replacement.
Conclusion: Master These DIY Car Fixes for Safer Driving
By learning the fixes mentioned earlier, you’re not just preparing for the occasional roadside hiccup – you’re equipping yourself with skills that can make a real difference in challenging situations. For drivers in Kenya, where potholes, rough roads, and heavy rains are all too common, these skills are especially handy. Minor issues can escalate quickly, but a little know-how can save you both time and money.
Peach Cars reported in April 2025 that pothole damage in Kenya often results in repair bills ranging from KSh 10,000 to 50,000. That’s a steep price to pay, but preventive maintenance and quick fixes like checking tire pressure or swapping out a flat can help you avoid those costs. Beyond the financial benefits, these skills also provide peace of mind. Whether you’re navigating Nairobi’s busy streets or driving through remote areas with no service stations nearby, knowing how to jump-start a battery or replace a tire can keep you safe and moving.
Safety should always come first. If you need to pull over, make sure it’s on stable, level ground, switch on your hazard lights, and let the engine cool before diving into repairs. Use the right tools and don’t hesitate to call a professional if the situation feels beyond your comfort zone.
To stay prepared, establish a monthly routine: check your tire pressure, test your wipers, top off your oil, and clean battery terminals. Keep an emergency toolkit in your car stocked with essentials like a properly inflated spare tire, jumper cables, gloves, a flashlight, and extra wiper blades. It’s also a good idea to practice using a jack and removing a spare tire at home when you’re not under pressure. That way, it becomes second nature when you’re in a real pinch.
While these fixes cover most common issues, some problems are better left to the experts. If you find yourself dealing with recurring issues, it’s a sign to schedule a professional inspection. Catching problems early through preventive checkups often costs less than waiting for them to turn into major repairs.
FAQs
What can I do if I get a flat tire and don’t have a spare?
If you find yourself with a flat tire and no spare, don’t stress – there are still ways to get moving again. Start by checking your car for a tire repair kit or sealant. These tools can help temporarily fix small punctures, giving you enough time to safely drive to the nearest repair shop. Just make sure to carefully follow the instructions provided with the kit.
If the damage is too severe or you don’t have a repair kit, your next step is to call roadside assistance or arrange for a tow truck to take your vehicle to a tire service center. To avoid this situation in the future, think about keeping a compact spare tire or a good-quality repair kit in your car for emergencies.
How can I tell if my car battery needs to be replaced or just cleaned?
If your car is having trouble starting, the battery could be the culprit. Start by testing the voltage with a multimeter – a fully charged battery should show 12.6 volts or higher. If the reading is lower, the battery might need to be replaced. Also, inspect for visible issues like corroded terminals, swelling, or leaks. Sometimes, a simple fix like cleaning the terminals with a baking soda solution and a brush can resolve issues caused by dirt or corrosion.
That said, if your battery is older than 3 to 5 years, frequently loses its charge, or still struggles to start the car even after cleaning, it’s probably time for a new one. While regular upkeep can help prolong a battery’s lifespan, they all eventually wear out and will need to be replaced.
What mistakes should I avoid when jump-starting my car?
When jump-starting your car, there are a few missteps you’ll want to avoid to keep things safe and prevent unnecessary damage:
- Mixing up cable connections: Always attach the positive (+) cable to the positive terminal and the negative (-) cable to either a grounded metal surface or the negative terminal on the working battery. Reversing these can lead to serious damage.
- Using damaged or low-quality jumper cables: Worn-out or faulty cables might fail to transfer power effectively and could even spark, which increases the risk of accidents.
- Allowing clamps to touch: If the clamps make contact with each other, it can create sparks or short circuits, which are hazardous for both you and your vehicle.
- Jump-starting a compromised battery: Never attempt to jump-start a battery that’s visibly cracked, corroded, or leaking. It’s safer to replace it outright.
Double-check your connections, ensure the cables are firmly in place, and refer to your car’s manual for any specific guidelines. These steps will help you safely get your vehicle running again.
Related posts
- 7 Tips for Rainy Season Car Care in Kenya
- Ultimate Guide to Car Maintenance Budgeting in Kenya
- How to Extend Battery Life in Kenyan Heat
- How to maintain your car in Kenya


